Don’t Get Backstabbed by the Kaiser Crab
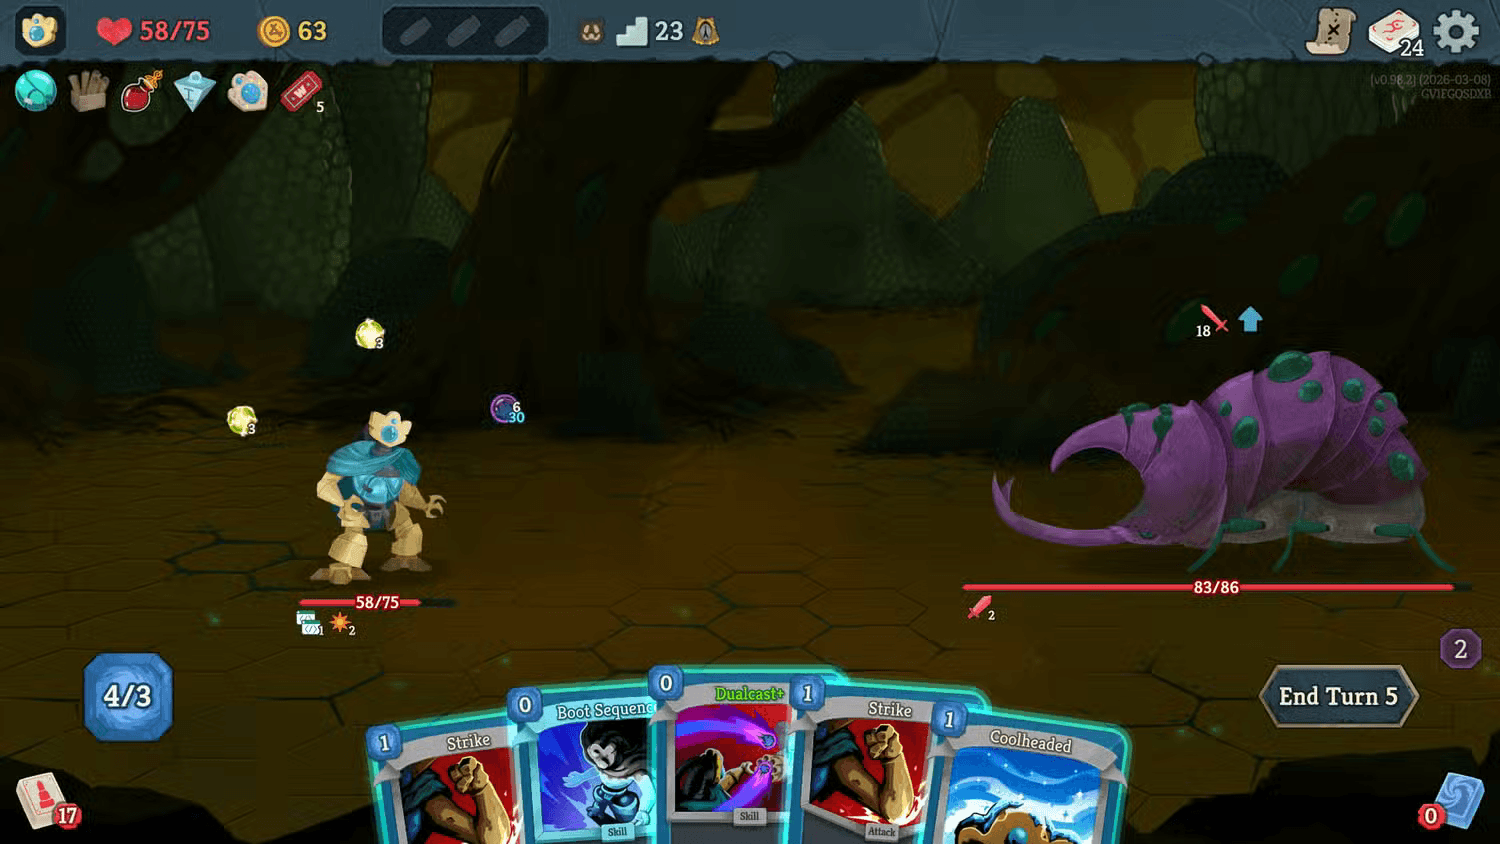
This imposing purple crustacean is notorious for halting progress in Act 2 during early attempts. Unlike standard encounters where you attack a single health pool, this boss requires managing two distinct limbs simultaneously. On the left sits the Crusher, boasting 199 health points and higher durability, while the right side houses the Rocket claw with 189 health but significantly more aggressive offensive output. A critical failure mode exists where failing to face the correct limb results in a backstab attack dealing bonus damage, punishing poor positioning instantly.
Your primary tactical directive is simple: always orient your character toward the immediate greatest threat. Typically, the Rocket claw poses the highest damage risk, so prioritizing its elimination is standard procedure. Be warned that destroying one limb allows the survivor to gain temporary block and strength bonuses, meaning you must eliminate the dangerous target rapidly before reinforcements arrive. Watch for the shell opening phase; block layers spike periodically but deplete every three to four turns, creating a narrow window to unleash significant damage.
Advanced players utilize specific build archetypes to bypass mechanical difficulty. Silent characters with poison capabilities degrade the boss passively while managing movement requirements. Ironclad strength ramping or Defect orb spam effectively penetrates the defensive layers. Early deck reduction is essential to ensure multi-hit or area-of-effect options are available precisely when the armor breaks open.
Picking the Lesser Evil Against the Knowledge Demon
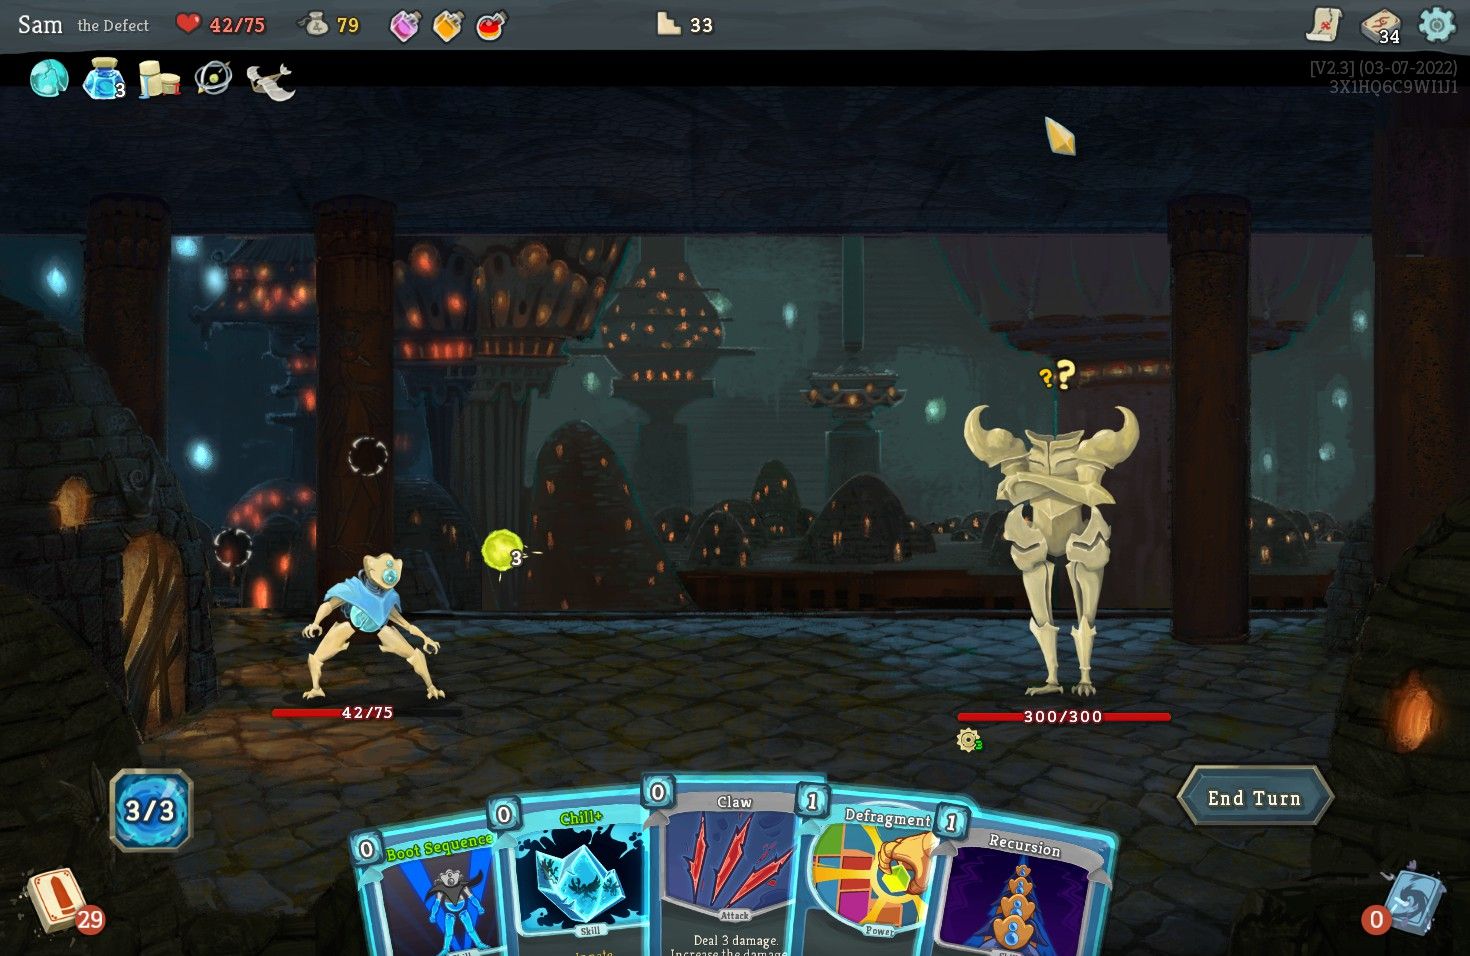
This floating entity specializing in mental manipulation relies on forcing difficult decisions throughout the encounter. Periodically, the demon interrupts combat to present a choice that applies escalating negative status effects. Initial selections typically pit Disintegration against Mind Rot. Disintegration inflicts damage over time at the end of the turn, whereas Mind Rot restricts your card draw count. As the battle progresses, the options become harsher, introducing Sloth which limits you to three cards per turn, or Waste Away which permanently reduces energy pools.
The optimal strategy involves eliminating the boss before the third choice sequence triggers. If your deck focuses heavily on blocking, accepting Disintegration repeatedly allows you to simply absorb the incoming damage ticks. Conversely, heavy burst damage decks find Sloth less threatening since their high-value plays still execute regardless of the hand limit. Decks built around card density suffer less from Mind Rot compared to losing energy, though both hurt resource generation.
Making a single incorrect decision causes debuff stacks to accumulate exponentially, which is why reducing your deck size remains vital. Consistent poison application continues to tick away health regardless of the current debuff stack. Understanding your specific build constraints allows you to select the path of least resistance immediately.
Racing the Sandpit with The Insatiable
The massive subterranean worm presents the most linear but unforgiving challenge regarding time management. Upon initiating combat, the creature immediately adds six Frantic Escape status cards into your deck while applying a Sandpit buff starting at four stacks. This counter decrements by one every turn. Reaching zero stacks results in instant consumption of your character and an automatic loss state. You must manage these added cards carefully, playing Frantic Escape only when the remaining count is critically low, usually one or two turns out.
Treat this engagement as a straight damage race where speed is paramount. The worm buffs its own strength regularly and launches heavy attacks, necessitating either immense block generation or enough raw damage output to secure victory within six to eight turns. Relying on attrition often fails because the timer runs out before health depletion occurs.
Successful runners employ a hidden cheese method involving extreme deck thinning. Keeping your total card count under twenty ensures you reliably draw the necessary escape cards when the timer demands it. Ironclad strength ramping or passive poison strategies chip away health safely while you wait for the safe window. Certain relics, such as Primal Force, can convert resources into massive damage spikes for the final burst needed to cross the finish line before the timer expires.
Cross-Boss Cheese & Deck Tips That Carry Every Run
Universal strategies exist that apply successfully across all three Act 2 bosses. Poison remains the most reliable cheese mechanic, allowing characters like the Silent to dismantle the tanky crab and worm while focusing on positioning and timers. Strength ramping decks, particularly those played as the Ironclad, excel at bursting the Knowledge Demon down before complex choices manifest. Economic management in Act 2 shops becomes crucial; prioritize acquiring relics that grant energy or increase card draw rates to support your core strategy.
Inventory management also dictates success. Reserve your consumable potions specifically for boss encounters rather than skirmishes. Utilizing a repositioning potion on the Kaiser Crab can negate backstab penalties, while a block potion on The Insatiable provides the extra survivability needed to survive the final turns. One well-timed item use transforms potential defeats into victories.
Ultimately, these bosses demand respect for their unique mechanics rather than treating them as standard hallway encounters. Recognizing the single gimmick defining each fight allows you to adapt your loadout accordingly. By combining consistent passive damage sources with precise action selection, you mitigate the inherent difficulty spikes found in this segment of the run. Preparation determines whether you survive the hive or retreat to replay earlier chapters.
Wrapping It Up
You now possess the necessary knowledge to navigate the complexities of Act 2 effectively. Mastering the positioning requirements against the crab, selecting the appropriate penalty avoidance against the demon, and managing the countdown against the sandworm ensures you do not fail due to oversight. Implementing a poison-focused build or aggressively thinning your deck creates a safety net that makes these encounters routine rather than risky obstacles. Once these hurdles are cleared, Act 2 ceases to function as a wall blocking your progression.
Approach each fight with the understanding that preparation outweighs raw power. Understanding the specific win conditions allows you to allocate resources efficiently throughout the dungeon. Whether you rely on stealth, brute force, or technical precision, the principles remain consistent across the Hive. With these tactics in your arsenal, you can confidently enter the next zone and prepare for the increased difficulty awaiting in Act 3.
Trust in your strategic adjustments and refine your playstyle based on these encounters. The Hive is a gauntlet designed to test your adaptability, and overcoming it proves your readiness for the upper spires. Go forth, crush that Hive run, and remember that every successful boss fight brings you closer to completing the entire campaign. You have the tools required to succeed.